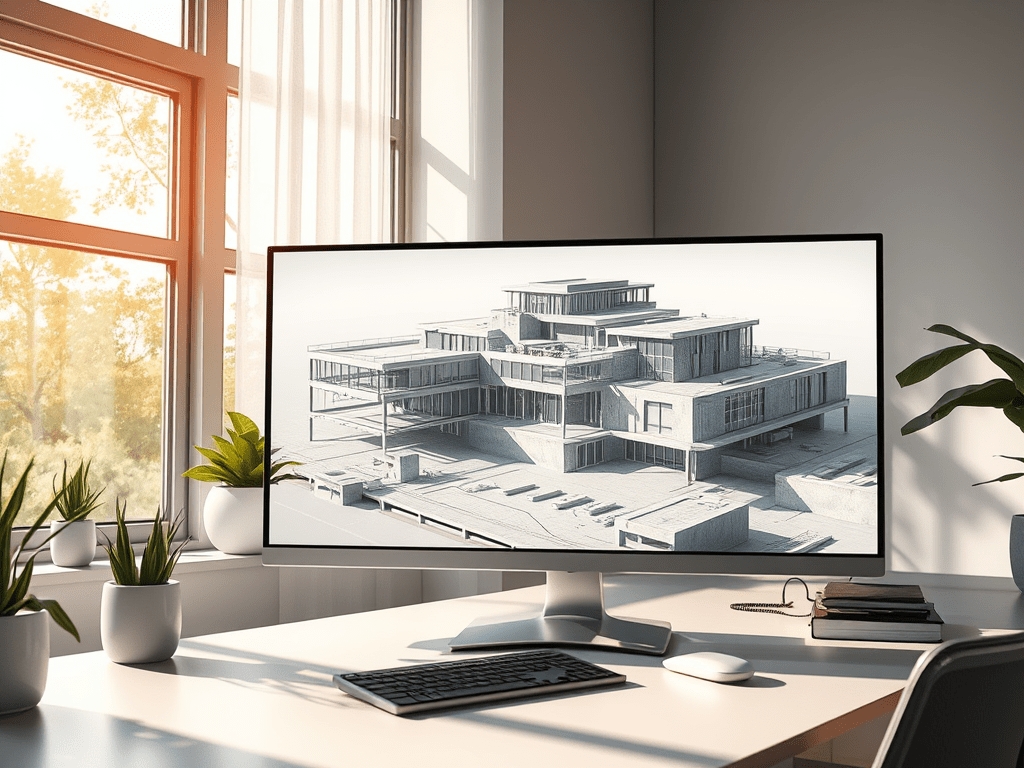
Breaking Down the Rendering Process: Insights for Architects and Designers
Rendering is more than just turning a 3D model into a polished image. It’s a meticulous process that transforms design concepts into visual stories, helping architects and designers communicate ideas, win clients, and refine their visions. Yet, many professionals don’t fully understand the nuances behind rendering—or how to make it work for their projects. This guide breaks down the rendering process step by step, offering actionable insights for architects and designers looking to elevate their presentations.
The Anatomy of a Render: Step by Step
1. Preparation: Building the Foundation
Before diving into rendering, the 3D model needs to be robust and optimized. This step involves:
- Geometry Optimization: Clean up the model to remove unnecessary polygons, ensuring smoother processing.
- UV Mapping: Lay out textures correctly on surfaces to prevent distortions.
- Scene Organization: Group elements logically (e.g., walls, furniture, lighting) to streamline the workflow.
Tip: A well-organized model saves time and prevents headaches during the rendering stage.
2. Lighting: Creating the Mood
Lighting is the backbone of any render. It defines depth, highlights textures, and creates atmosphere. Architects and designers should:
- Experiment with Natural Lighting: Simulate sunlight, skylights, or seasonal changes to explore how they impact the design.
- Layer Artificial Lighting: Incorporate ambient, task, and accent lighting for a complete effect.
- Test Different Angles: Adjust light sources to highlight key features and minimize flatness.
Example: A residential project used lighting simulations to show how morning sunlight would flood the kitchen and living areas, evoking a warm, inviting feel.
3. Materials and Textures: Adding Realism
Materials and textures breathe life into renders, giving surfaces their distinctive look and feel. Pay attention to:
- PBR (Physically Based Rendering) Materials: Use textures that realistically simulate surface interactions with light.
- Material Properties: Adjust attributes like roughness, reflection, and transparency to achieve lifelike results.
- Avoid Overloading: Balance detail with performance to maintain rendering efficiency.
Pro Tip: Always review materials in different lighting scenarios to ensure consistency across the render.
4. Camera Settings: Framing the Story
A render is only as compelling as its perspective. Use camera settings to:
- Define Focal Points: Guide the viewer’s attention to important design elements.
- Experiment with Depth of Field: Blur backgrounds to enhance focus on foreground details.
- Choose the Right Lens: Wide angles for expansive views, telephoto for close-ups.
Case Study: An architectural firm used cinematic camera angles to present an office design, helping stakeholders visualize the flow of workspaces.
5. Post-Processing: Refining the Output
Once the render is complete, post-processing adds the final touches that make it shine. Techniques include:
- Color Grading: Enhance mood by adjusting brightness, contrast, and saturation.
- Noise Reduction: Clean up artifacts for a crisp, professional look.
- Adding Context: Overlay the render onto a site photo or background for added realism.
Tool Tip: Software like Photoshop or After Effects can take your render from good to extraordinary.
Rendering for Impact: Strategies for Success
Understand Your Audience
Not every project requires hyper-realistic renders. Tailor your approach based on:
- Client Expectations: High-end visuals for luxury developments, conceptual sketches for early design phases.
- Project Goals: Highlight functionality for commercial spaces, ambiance for residential designs.
Optimize for Workflow
Rendering can be resource-intensive. Streamline your process by:
- Using Render Farms: Offload processing to cloud-based services for faster results.
- Iterating in Stages: Start with low-quality drafts to refine lighting and materials before finalizing.
- Leveraging Templates: Create reusable settings for common project types to save time.
Keep Learning
Rendering technology evolves rapidly. Stay ahead by:
- Exploring new tools like real-time engines (e.g., Unreal Engine, Lumion) for faster outputs.
- Mastering AI-driven tools that automate complex rendering tasks.
- Joining communities to share techniques and gain inspiration.
Rendering as a Storytelling Tool
Great rendering isn’t just about realism; it’s about storytelling. A well-crafted render communicates the essence of a design—how it feels to inhabit the space, the emotions it evokes, and the vision behind it. By mastering the rendering process, architects and designers can transform their presentations into experiences that captivate and inspire.